
The blue salt trick has gotten so much love online because it looks cool, feels creative and adds a bright pop of color to food and drink. Lots of people use it for parties, cooking videos, home baking ideas, or just plain fun at home. The idea is easy. You take ordinary table salt and combine it with a natural or safe, food-color source to make bright blue crystals. The end is fancy but the effort takes hardly any time.
This magic works on drinks and snacks, desserts, even your kitchen decor. The blue pops in photos and makes ordinary items feel special. It’s something anyone can make at home with standard ingredients. There’s no special equipment or culinary expertise required. Once you know the basic technique, you can create hues of light blue or dark, even mix it with other colours. So this trick has been popping up in households, coffeehouses and at party tables.
In this guide, you’ll learn how to make the blue salt, how to use it, what kinds of tools work best and how to store it. (The guide will include advice on how to achieve the right texture and pitfalls to avoid.) Once you’re finished, enjoy using this trick to embellish your drinks, elevate your desserts or impress your friends.
Table of Contents
How the Blue Salt Trick Functions
The blue salt trick relies on the way salt takes on color. Salt crystals coated with natural or food safe blue works only in that it stays affixed to the salt so it doesn’t lose its ability to hold the color. The secret is to use either a large grained salt or flaky sea salt. Fine salt is fine (ahem), but the crystals are a little bloomier so they don’t look as cool. The color sticks to the outside and the salt has a nice gloss.
I think most people cut with liquid food color or gel color, or use a natural dye like butterfly pea powder. Add a little bit of water, or lemon juice, and it produces this gorgeous blue. Once the salt is combined with color, you leave it to dry for a few hours. This leaves the crystals solid but bright. The dry time matters, you see, because it is what makes the salt last longer and clump less.
This trick will also work well on a number of food ideas. Blue sugar rims on glasses are pretty standard, but blue salt rims look bold. You can sprinkle it on fruit, add to drinks, salads, snacks or use during craft time. Since the trick uses safe color choices, it remains clean and easy to make over and over. And once you get the hang of the basic idea, you can tailor the shade and shape to suit any occasion.
What You’ll Need
- Coarse salt or flaky salt, plus fine salt, if desired, for sprinkling Decorate With Cocoa CUT your three hot dogs and set on a serving tray to await the buns.
- Blue food color or blue gel color, or natural butterfly pea powder
- A small bowl to mix the salt and color
- A spoon or spatula for all-around mixing of the mixture
- A baking sheet or flat tray for drying the colored salt
- Wax paper or parchment paper to prevent sticking during the drying time
- A jar with a lid for holding the finished blue salt
- Gloves if you don’t want to stain your hands with color
How to Do the Blue Salt Trick
Start with a cup of salt. Pour it into a small bowl. If your tastes run to inky blue-black, select coarse crystals. If you prefer a soft, delicate coat, use table salt. I put 2 to 3 drops of food color bowl into the bowl. If using butterfly pea powder, whisk one teaspoon of it with the water before adding. This helps the powder spread.
Stir the salt slowly. You want every crystal to make contact with the color, so that it remains a uniform shade. If you think it looks too light, add one more drop. If the batter seems too moist: Add 1 or more tablespoons of dry salt to curb it. When your color is ready to be spread, lay the salt on a flat tray covered with baking paper. Spread it thin so it will dry quickly.
Keep the tray in a cool place for 2-3 hours. Do not leave it in the oven as heat will deaden the color. When the salt no longer feels sweaty and clumpy, lift the paper and give it a shake. Crumble with your fingers into the bowl any small clumps. Place the blue salt in a covered jar. Kept dry and clean it lasts weeks.
Creative Applications of the Blue Salt Trick
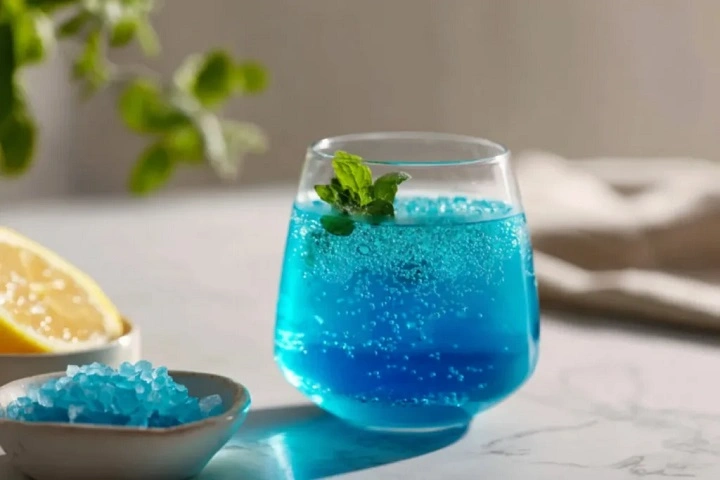
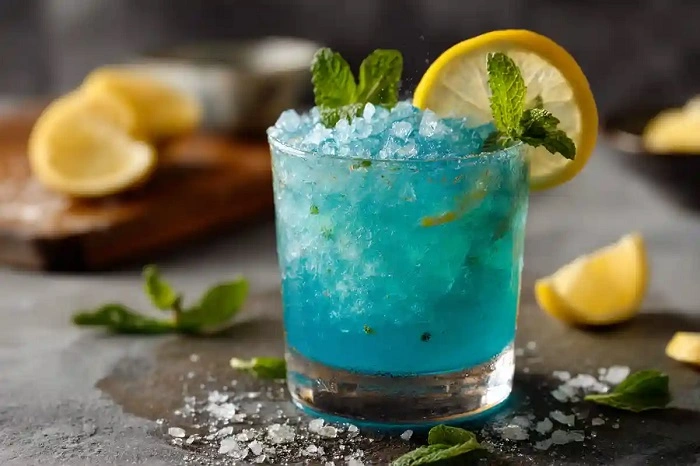
- Sprinkle it on drink rims, whether for lemonade or cocktails or mocktails
- Toss on fruit plates for color and a light crunch
- Garnish cookies, brownies or dessert bars for a fun topper
- Toss into snack bowls for a festive party look
- Share as a social media post to energetically support the ‘blackout’.
- Stir into crafts or decor jars for a coastal look.
- Sprinkle over ice cream or yogurt to add contrast and sweet salty flavor
How to Grow Perfect Blue Salt Crystals

The optimal color relies on the perfect balance of moisture and color. Add only a few tablespoons of liquid. If there is too much water, it will melt the salt. Gel color then can give you strength without wetness. When you mix, go slow. Fast mixing can shatter the salt crystals, resulting in a dusty appearance.
Allow the salt to dry completely before using. Damp crystals lose their shape. Transfer the tray to a well-ventilated location. Steer clear of sun, which can cause strong blues to fade in the heat. If the salt looks dulled, just add a tiny drop of fresh color and mix again. This brings back the brightness.
Store the salt in a dry jar. If there is any moisture in the jar at all, it clumps. If that occurs, place it back on the tray and allow to dry. You can do the same trick with other colors, as well. After you get the hang of blue, experiment with red, gold, purple or green. The technique is the same, only the color shifts.
Common Mistakes to Avoid
Some people overdo the food color. This causes the salt to become overly wet and sticky. Use only drops, not spoonfuls. Another error is that of parking the tray in the fridge. Cold air causes the salt to soak up moisture and agglomerate. Keep it at room temp instead.
If you use natural powder, don’t mix the salt in metal bowls. It occasionally reacts with organic sources of color in the environment and discolors. Use glass. Also, don’t dry the salt in an enclosed vessel. It locks in steam and destroys the texture. Spread it thin and open.
If you intend to rim a drink with the blue salt, examine the glass’s edge. If there’s too much rims juice, the salt dissolves. Wet the glass very lightly with water or lemon juice and roll. This maintains the blue crystals clean and bright.
FAQ on the Blue Salt Trick
Is blue salt safe to eat?
Yes, if it is food grade colour -OR- natural source of colour.
How long does blue salt last?
It will keep for multiple weeks in a dry, covered jar.
Can I use fine salt in place of coarse salt?
Only coarse, but you will have a nicer look and better colour shine.
What do I do with lumpy blue salt?
Spread it out on a tray and leave to dry again for 1-2hours.
Is it possible to make the same with other tones?
Yes, the technique will to work with all food safe colors.
The blue salt trick is simple, entertaining and artistic. It transforms plain salt into colorful crystals to garnish drinks, desserts and snacks. And with the right instruments, a bit of color and some dry time, anyone can make it at home. Great for parties, videos, photos and just plain kitchen fun. Give it a go and enjoy the added pop of bright blue that it gives to your food and events.