
A cheese block is a staple in many kitchens, offering a simple yet delicious option for snacking, grating, or adding to dishes. Drawing a cheese block allows you to capture the smooth, creamy texture and distinct shapes that make it so appealing. Whether you’re drawing a classic cheddar block or a more artisanal variety, this guide will walk you through the process of drawing a cheese block, focusing on the textures, colors, and playful details that make it a favorite in the world of food.
Table of Contents
Why Would You Want to Draw a Cheese Block?
Capture the Smooth, Solid Texture
A cheese block has a firm, smooth surface with sharp edges. Drawing it gives you an opportunity to focus on the solid texture, with straight, clean lines or the slight imperfections that make each block unique.
Emphasize the Color and Light Reflection
Cheese blocks often have a rich, golden-yellow color or ivory hue, making them an eye-catching subject. Playing with light reflections on the block helps bring it to life and adds depth to your drawing.
Add Fun Context or Props
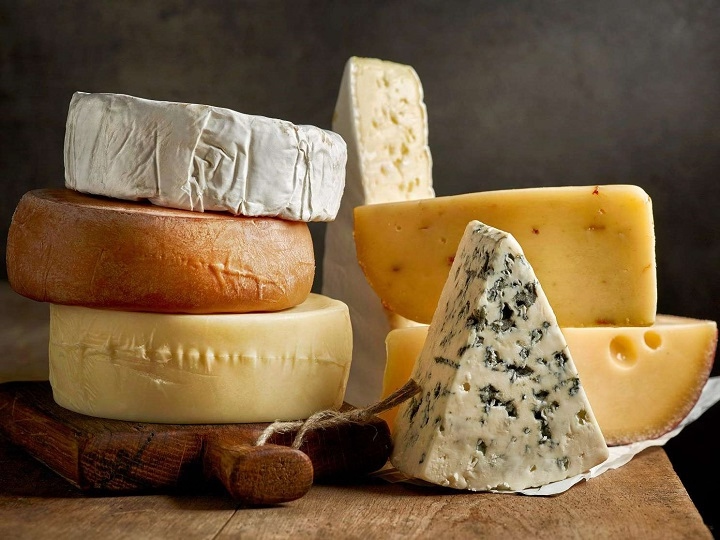
You can make your drawing even more engaging by placing the cheese block in a relevant context, like next to a cheese knife, on a cutting board, or in a cheese platter with other delicious items.
Best Tips for Drawing a Cheese Block
Start with the Basic Shape of the Cheese Block
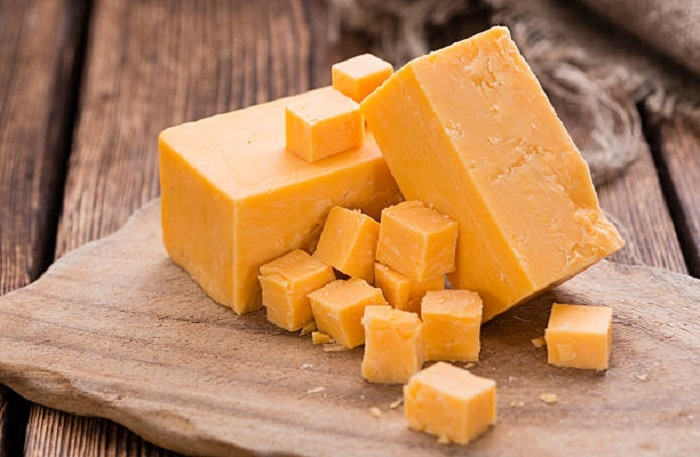
The first step is to get the basic shape of the cheese block right. Cheese blocks are typically rectangular or square, with smooth edges. However, feel free to add slight irregularities for a more natural, realistic look.
How to Do It:
- Draw a rectangular shape to represent the block of cheese.
- Focus on getting the proportions correct to make it look balanced.
- Add slight curvature to the corners or edges to make the block appear more organic and less rigid.
Add Surface Details for Realism
Although cheese blocks are typically smooth, there may be slight imperfections, grooves, or markings on the surface that add character. You can use these details to make your drawing more lifelike.
How to Do It:
- Add light, uneven lines along the edges to suggest texture, like small cracks or indentations.
- Draw subtle lines on the surface to represent the natural marks of aging or cutting.
- Focus on the texture of the cheese to add depth—smooth but with hints of slight irregularities.
Focus on Shading and Highlights
Shading and highlights are essential for giving your cheese block depth and dimension. Cheese often has a glossy, slightly reflective surface, which can be represented with careful shading.
How to Do It:
- Add shading around the edges and corners of the cheese to show its three-dimensional shape.
- Use softer gradients on the top surfaces to suggest how light reflects off the cheese.
- For a glossy look, add small bright areas to the surface to reflect the light and give it a soft, inviting appearance.
Show the Cheese in Context
Adding context to your cheese block can make it feel like part of a larger scene. Whether it’s sitting on a cheese platter, next to a knife, or paired with other cheeses, placing your block in a realistic setting enhances the illustration.
How to Do It:
- Draw a cutting board or cheese platter beneath the block to give it a proper base.
- Add a cheese knife next to the block, angled as if it has just been used to cut a slice.
- Consider drawing small crumbs or shavings on the board to suggest the cheese has been recently cut or used.
Add Fun Details or Props
To make your cheese block drawing more interesting and visually appealing, add some fun elements like small characters, props, or additional textures.
How to Do It:
- Draw a few cheese shavings scattered around the block for a dynamic effect.
- Add a few slices of bread or crackers next to the block, hinting that the cheese is ready to be enjoyed.
- Consider drawing a small character, like a mouse, eyeing the cheese block, to add a playful element.
Use Color Thoughtfully
The color of the cheese block plays a crucial role in making it realistic and visually appealing. Yellow, ivory, or even orange shades are commonly used for various types of cheese blocks.
How to Do It:
- Use soft yellow, golden, or creamy tones for the base color of the cheese block.
- Add darker yellow or orange tones along the edges or in the shadows to show depth.
- For a more aged or hard cheese look, incorporate slight brown or beige hues to give the cheese a more rustic, aged appearance.
Add Background or Contextual Elements
Adding a background or additional elements around the cheese block helps create a full scene that feels grounded and realistic.
How to Do It:
- Draw a simple kitchen counter, wood surface, or a rustic table to place the cheese block on.
- Include other items such as a wine glass, grapes, or olives to suggest the cheese is part of a sophisticated cheese platter.
- Keep the background simple and neutral, allowing the cheese block to remain the focal point.
Different Styles for Drawing a Cheese Block
Realistic Style: Detailed and Lifelike
How to Do It:
- Focus on the smooth texture and solid shape of the cheese, paying attention to the light and shadow play across its surface.
- Use realistic shading techniques to give the cheese block depth, especially in areas where the light hits.
- Add intricate details such as marks or cracks on the surface of the cheese.
Cartoon Style: Bold and Playful
How to Do It:
- Simplify the cheese block shape into bold lines and use bright, saturated colors.
- Add exaggerated features, such as a smiling face or character, to give the cheese block a cute personality.
- Use thick black outlines to make the cheese block stand out in a fun, comic-like manner.
Minimalist Style: Clean and Simple
How to Do It:
- Draw the cheese block using basic shapes with minimal detailing.
- Limit your color palette to only a few shades to keep the drawing sleek and modern.
- Use subtle gradients and avoid too many texture details to maintain a minimalist style.
How to Choose the Best Style for Your Cheese Block Drawing
For Fun or Casual Illustrations
A cartoon style works well if you want to make the cheese block look playful and exaggerated. This style is ideal for kids’ menus, food blogs, or humorous content.
For Detailed Art Projects
If you want to focus on realistic textures and detailed depictions of the cheese block, the realistic style is the best choice. This style is perfect for food packaging, ads, or detailed illustrations.
For Modern or Sleek Art
If you prefer a clean, contemporary aesthetic, a minimalist style is great for modern posters or digital art, where the cheese block serves as the main focal point.
How to Store Your Cheese Block Drawing
Use a Portfolio for Paper Drawings
Store your hand-drawn cheese block artwork in an acid-free portfolio to keep it safe from dust and damage.
Frame It for Display
Framing your drawing is a great way to showcase it professionally, especially in a kitchen or dining area.
Save Digitally for Future Use
For digital illustrations, save your work in high resolution and back it up in cloud storage for easy access and long-term preservation.
Frequently Asked Questions (FAQs)
How do I make the cheese block look smooth and firm?
Use clean, straight lines for the edges and soft gradients for shading. Focus on keeping the lines sharp to depict the firm texture of the block.
Can I draw a cheese block in a cartoon style?
Yes! A cartoon style works well by simplifying the shape and adding exaggerated features like a face or funny details to give the cheese block personality.
How do I show the cheese block’s texture?
Use light shading and slight texture details, such as small grooves or markings, to reflect the smooth but slightly irregular surface of the cheese block.
What color should I use for the cheese block?
Use shades of yellow, gold, or ivory for the base of the cheese block. Add subtle brown or orange hues for depth and to reflect age or ripeness.
How do I make the cheese block look more realistic?
Focus on detailed shading and highlights to emphasize light reflection and create depth. Adding small texture details or marks on the surface will also help.