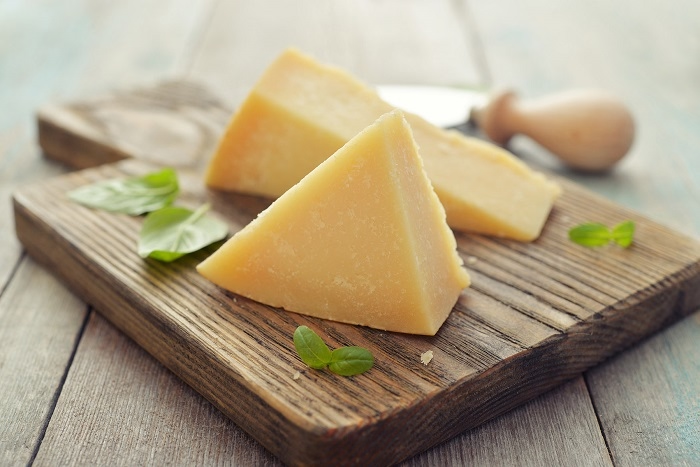
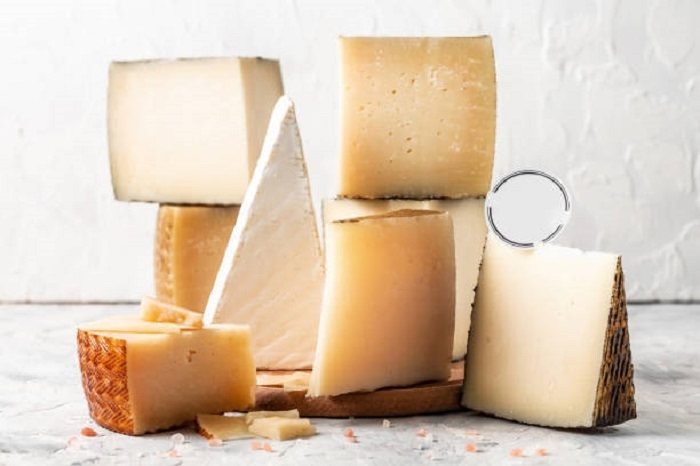
Hard cheese, with its firm texture and aged appearance, offers a wonderful opportunity for illustrators to explore texture, shape, and detail. Whether you’re practicing food art, studying cheese varieties, or just enjoying creative sketching, drawing hard cheese can be both fun and rewarding. This guide walks you through the process of drawing hard cheese using different artistic styles, techniques, and finishing tips.
Table of Contents
Why Would You Want to Draw Hard Cheese?
Develop Texturing Skills

Hard cheese has a dry, crumbly, or grainy texture which is great for improving your shading and detailing techniques.
Practice Product Illustration
From cheese wheels to wedges and slices, hard cheese packaging and display provide opportunities to practice realistic object drawing.
Explore Artistic Styles
Hard cheese drawings can be rendered in various styles—realistic, minimalist, or even cartoonish—depending on the purpose of your artwork.
Best Tips for Drawing Hard Cheese
Start with the Basic Shape
Hard cheese comes in forms such as wedges, wheels, or rectangular blocks. Begin by sketching the general outline.
How to Do It:
- For a wedge, draw a triangle with a curved back.
- For a cheese wheel, draw a circle with a slight edge thickness.
- For a block, use a rectangular 3D box format to show volume.
Add Edge and Rind Details
Hard cheese typically has a distinct rind or outer edge that helps differentiate it from softer cheeses.
How to Do It:
- Sketch a thin outer border around the wedge or wheel.
- Add a slightly darker line or subtle texture to indicate the firmness and age of the rind.
- Consider cracks, pores, or uneven spots on the edge to give it character.
Illustrate the Internal Texture
The inside of hard cheese may appear smooth, cracked, or slightly porous depending on its variety.
How to Do It:
- Lightly shade the interior for depth.
- Add tiny dots or uneven grain-like textures for varieties like Parmigiano-Reggiano.
- Use broken lines or chips at the edges to mimic crumbling.
Show the Cheese Cut or Slice
Hard cheese is often served in wedges or thin slices. Drawing a slice gives a realistic touch and helps with composition.
How to Do It:
- If drawing a cut wedge, show the flat inner surface and distinguish it from the aged rind.
- For sliced cheese, add multiple layers of thin rectangles or curved slices.
Include Props and Surroundings
To complete your illustration, consider drawing a cheese knife, grater, or serving board with the cheese.
How to Do It:
- Sketch a wooden cheese board as the base.
- Add props like grapes, olives, or nuts to enhance the presentation.
- Draw a cheese knife with a curved edge or holes for authenticity.
Add Shading and Highlights
Hard cheese has a matte finish, so shading is essential for conveying texture and form.
How to Do It:
- Use hatching or cross-hatching for texture, especially near the rind.
- Apply soft gradients on the wedge to show light source direction.
- Emphasize shadows under the cheese to ground it in the scene.
Use Color Thoughtfully
Color helps bring your drawing to life and makes it more recognizable.
How to Do It:
- Use shades of pale yellow, ivory, or light orange for the cheese body.
- For the rind, consider brown, grey, or deep yellow, depending on aging.
- Color props with subtle tones to avoid overpowering the cheese.
Different Styles for Drawing Hard Cheese
Realistic Style: Focus on Texture and Shadow
How to Do It:

- Use careful shading and precise detail.
- Emphasize the rind’s aging and the interior’s granularity.
- Capture lighting and depth with smooth transitions in shading.
Cartoon Style: Bold and Playful
How to Do It:
- Simplify the shape using bold outlines.
- Exaggerate holes or cracks for a fun, exaggerated look.
- Add whimsical elements like a smiling face or arms holding a cheese grater.
Minimalist Style: Clean and Elegant
How to Do It:
- Use geometric forms and very few lines.
- Focus on silhouette and form.
- Add a limited color palette—perhaps just black outlines and a single color.
How to Choose the Best Style for Your Hard Cheese Drawing
For Educational or Product Use
Choose a realistic style to focus on accuracy and presentation.
For Children’s Books or Fun Sketches
Go with a cartoon style to capture a light, friendly mood.
For Posters or Packaging Concepts
A minimalist style will deliver elegance and modern appeal.
How to Store Your Hard Cheese Drawing
Use Protective Sleeves or Portfolios
If you’re working on paper, store it flat in a plastic sleeve or an artist’s portfolio to prevent smudging or creasing.
Frame It
Displaying your artwork under glass in a frame not only protects it but also shows off your finished piece.
Save Digitally
Scan or photograph your work at high resolution, especially if you plan to showcase it online or print it later.
Frequently Asked Questions (FAQs)
What’s the easiest shape to start with when drawing hard cheese?
A triangle wedge is the easiest shape and most commonly recognized form of hard cheese.
How do I make the rind look realistic?
Add a rough texture and darker shading along the edge. Include cracks or uneven surfaces for aged appearance.
Can I color hard cheese using markers?
Yes, use light yellow and beige tones. Just be sure to layer gradually to avoid streaks.
How can I make the cheese look crumbly?
Use broken lines, sketch small chips or cracks near the edges, and apply textured shading.
What are good background elements to pair with hard cheese?
Wooden boards, grapes, crackers, wine glasses, or even a kitchen scene can complement your cheese drawing.

