
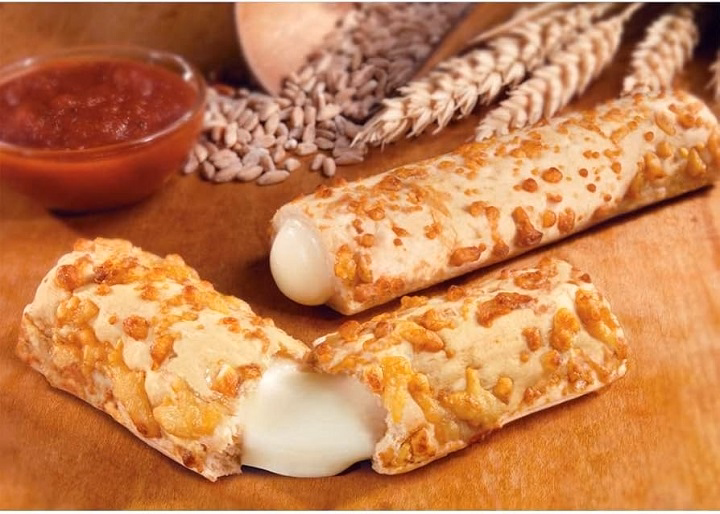
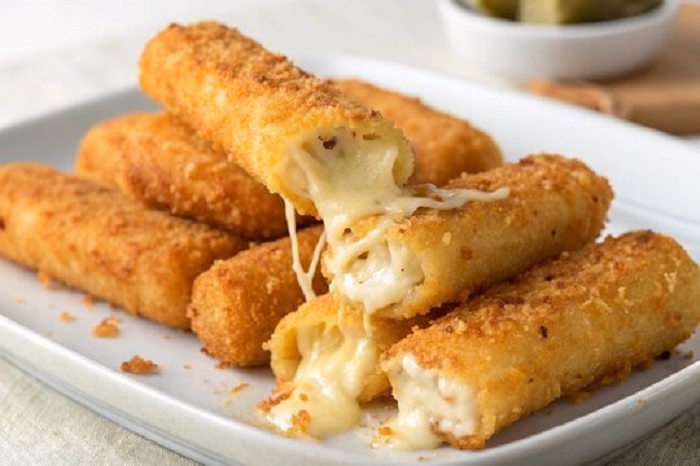
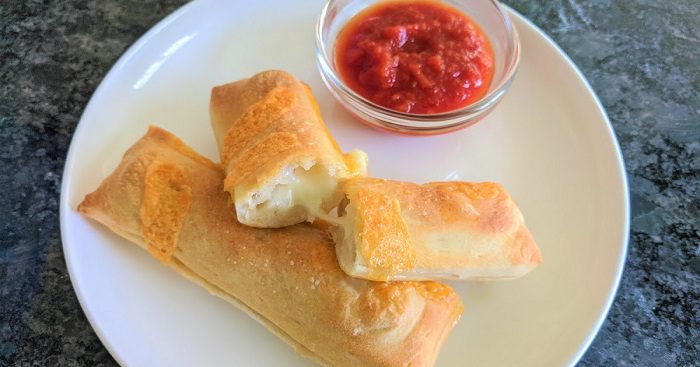
School cheese sticks are a popular and convenient snack often found in lunchboxes. These simple, cheese-filled treats are both fun to eat and fun to draw. The distinct shape, soft texture of cheese, and packaging details offer great opportunities for practicing food illustration. This guide will walk you through how to draw school cheese sticks, from their recognizable packaging to the gooey cheese inside.
Table of Contents
Why Would You Want to Draw School Cheese Sticks?
Capture Simple Yet Iconic Shapes
School cheese sticks are easily recognizable with their slim, rectangular shape and packaged design, making them a great subject for practicing basic shapes.
Explore Packaging and Branding
The packaging, with its bold, colorful designs and labels, offers a unique opportunity to focus on text and product branding in your artwork.
Practice Shading and Texture
Drawing cheese sticks allows you to focus on texture, especially when illustrating the soft, smooth cheese inside and the often crinkly, sometimes shiny exterior.
Best Tips for Drawing School Cheese Sticks
Start with the Basic Shape of the Cheese Stick
School cheese sticks are generally long, rectangular shapes with slightly rounded edges. Begin by sketching the outline of the cheese stick.
How to Do It:
- Draw a long, thin rectangle with slightly rounded corners to represent the stick of cheese.
- Keep the lines clean and straight to show the simple form of the cheese stick.
Add Texture and Shading to the Cheese Stick
Cheese sticks are often individually wrapped, and the packaging has a slight crinkled texture. Add details to make the surface of the cheese stick more realistic.
How to Do It:
- Use light, curved lines to represent the texture of the wrapping.
- Shade the edges of the cheese stick to show its cylindrical form and make it look three-dimensional.
- Add small, irregular wrinkles to suggest the wrapping, particularly at the ends of the stick where it might be twisted.
Illustrate the Cheese Filling (Optional)
Sometimes, cheese sticks are slightly open at the ends, showing the gooey cheese inside. You can add this detail for extra realism.
How to Do It:
- Draw small lines along the open end of the cheese stick to suggest the cheese peeking out.
- Use soft, rounded shapes inside the cheese stick to show the smooth, creamy texture of the cheese.
- Apply shading to create depth inside the cheese stick.
Add Packaging Details
Most school cheese sticks are individually wrapped in colorful packaging. Drawing the packaging can bring extra vibrancy and recognition to your drawing.
How to Do It:
- Draw the wrapper as a smaller rectangle around the cheese stick.
- Add details like the brand name, text, or any colorful designs seen on typical cheese stick packaging.
- Use bold, clean lines for the text and add simple shapes like squares or circles for logos or brand marks.
Add Shading and Highlights
To create a three-dimensional look, shading is key. Focus on the light and shadow to give the cheese stick a realistic depth.
How to Do It:
- Shade the cheese stick lightly, focusing on the side opposite the light source to add depth.
- Use soft, gentle shading along the edges to show where light would hit the wrapping, giving it a glossy appearance.
- For the cheese filling, apply soft shading inside the stick to show the creamy texture and its separation from the wrapping.
Apply Color Thoughtfully
Color brings your cheese stick to life, making it more recognizable and visually appealing. Use colors that reflect the typical appearance of a cheese stick.
How to Do It:
- For the cheese stick, use pale yellow, off-white, or light beige to represent the cheese inside.
- Use soft brown or cream tones for the wrapping to give it a realistic, crinkled look.
- Add bright, bold colors for the packaging, such as red, blue, or yellow, depending on your vision or the brand you want to represent.
Add Background or Plate Elements
To finish your illustration, consider adding a background or a plate to make it feel more complete.
How to Do It:
- Draw a plate or table beneath the cheese stick to ground it in the scene.
- You can also add a few more cheese sticks for a dynamic, snack-like scene.
- If you’re creating a scene with multiple cheese sticks, think about adding a glass of milk or a lunchbox in the background.
Different Styles for Drawing School Cheese Sticks
Realistic Style: Focus on Texture and Detail
How to Do It:
- Pay close attention to the subtle details of the packaging and texture of the cheese stick.
- Use smooth gradients and soft shading to show the form of the cheese and the wrapping.
- Add highlights to give the cheese stick a glossy, three-dimensional look.
Cartoon Style: Bold and Playful
How to Do It:
- Use bold, exaggerated shapes for the cheese stick and packaging.
- Simplify the cheese stick’s details while focusing on making the packaging bright and colorful.
- Add fun, animated elements like a smiling face or a large exaggerated bite mark.
Minimalist Style: Sleek and Simple
How to Do It:
- Focus on basic shapes and keep the design clean and uncluttered.
- Limit the number of details, using simple lines and blocks of color to suggest the cheese stick and packaging.
- Keep the color palette minimal, using just a few colors to represent the cheese and wrapper.
How to Choose the Best Style for Your Cheese Stick Drawing
For Food Illustrations or Realistic Art
A realistic style works best to capture the textures and details of the cheese stick, especially if you’re aiming to make it look mouth-watering.
For Fun, Playful Art
A cartoon style is ideal for making the cheese stick look lively and full of character, adding personality to your drawing.
For Sleek, Modern Designs
A minimalist style suits digital art or modern posters, focusing on clean lines and limited color palettes.
How to Store Your School Cheese Stick Drawing
Use a Portfolio for Paper Drawings
Store your artwork in a protective portfolio to keep it safe from dust or damage.
Frame It for Display
If you’d like to show off your cheese stick drawing, frame it for a polished, professional look.
Save Digitally for Future Use
For digital drawings, back up your artwork in high resolution to ensure it’s stored safely and can be used for printing or online sharing.
Frequently Asked Questions (FAQs)
How do I make the cheese stick look realistic?
Focus on shading the cheese stick with light and dark areas to give it dimension, and add subtle highlights on the wrapping to show its texture.
Can I draw multiple cheese sticks?
Yes! Drawing multiple cheese sticks can create a fun, dynamic scene. Try arranging them in a way that feels natural, like stacked or staggered on a plate.
How do I make the cheese inside the stick look creamy?
Use smooth, soft lines for the cheese inside the stick. Shade lightly to give it depth, and add some small details to show the texture.
Can I add a bite mark to the cheese stick?
Absolutely! Adding a bite mark gives the drawing more character and helps suggest that it’s a real snack.
What color should I use for the cheese stick wrapper?
Use shades of cream, brown, or light beige for the wrapper to create a realistic, crinkled effect.