
Out back, near the hoof, muscles work hard every day. A slow cooker takes that toughness and changes it completely. Instead of quick heat, time does the job here. Moist warmth breaks down what was once chewy into something soft. People sometimes think this piece should be juicy like filet. Truth is, it comes from an active part of the animal. Fibers grip together. Toughness runs deep. The pot turns that challenge into depth without hurry. When left alone, it becomes chewy, parched, full of strands. Yet with gentle warmth, dampness, patience – its reaction surprises, unlike quicker techniques ever could.
Table of Contents
Sirloin Tip Roast at a Glance
| Detail | Recommendation |
| Cut | Sirloin Tip Roast |
| Cooking Method | Slow Cooker / Crock Pot |
| Cooking Time (Low) | 8 Hours |
| Cooking Time (High) | 4 Hours |
| Target Internal Temperature | 190°F |
| Resting Time | 15 Minutes |
| Liquid Needed | ½–1 Cup |
Why a Crock Pot Works So Well
What matters most? Not salt or spices. Actually it’s about holding water.
Heat drives moisture away from meat. As proteins clump, liquid is forced out. Whether a meal turns out okay or terrible depends on what stays inside.
Locking in vapor makes a change. Slow cookers do this by keeping steam contained. Hours pass. Inside, temperatures linger between 170 and 200 degrees Fahrenheit.
Searing? Not happening. Crispiness? Nowhere near. Yet slowly, almost quietly, collagen unravels. Tough fibers melt into gelatin. Moisture stays put, never boiled off.
Understanding the Sirloin Tip Roast
That cut labeled sirloin tip? It won’t act like your usual steak.
Cook it that way, results turn out tough every time. Fire up the grill or hit the skillet – only works if you slice it thinner than notebook paper, but only after hours of breaking down fibers.
Now place it in a slow cooker, let steam rise around it or sit fully covered in broth, gentle heat reshapes toughness into something tender without falling apart.
What to Look For When Buying
| Feature | What to Choose |
| Thickness | 1 to 1¼ inches |
| Cut Type | Center-cut rib chop style roast |
| Texture | Firm |
| Fat | Light marbling |
| Packaging | Fresh, not sitting too long |
Pick a good piece first. Go for center-cut rib chops, thickness between one inch and an inch and a quarter. They’re taken from the top part of the pig’s back, close to where loin joins shoulder.
Some stores call them “ribeye pork chops” when you see flecks of fat around the edge – nice to have, though even texture beats flashy marbling every time.
Start firm, not floppy. Pressure shows what age hides.
Dry Brining Before Cooking
Start by getting things ready before you even think about heat.
Dry the surface well. Get salt on it ahead of time. Wait – say sixty minutes – and water moves out slowly from inside. This trick has a name: dry brining.
Osmosis pulls liquid thanks to salt. Later, some of that fluid soaks back in, bringing seasoning deep.
The payoff shows later:
- Better flavor
- More even seasoning
- Improved moisture retention
- Better texture after cooking
How to Set Up the Crock Pot
Here’s something often missed: how you position the roast. Try setting it with the fat on top, sure – though better yet, let it sit a bit raised, if your gear allows.
A few ovens come with trays meant for steaming. Slide that underneath and heat works slower, more like gentle simmering than boiling.
Once the chunk of meat floats above broth, exact amounts of liquid lose importance. Start with less liquid.
Overflowing juices pull taste away, weaken searing effects – some crust still forms – and soften texture too soon.
Liquid Guide
| Liquid | Amount |
| Beef Broth | ½–1 Cup |
| Chicken Stock | ½–1 Cup |
| Vegetable Stock | ½–1 Cup |
| Red Wine | Small Splash |
For the whole cook:
- 4 hours on High
- 8 hours on Low
That amount holds balance.
Why Searing Still Helps
Browning meat? Still up to you, yet often misread.
Locking in moisture – nope, that idea’s false. Flesh doesn’t trap liquid like an air-filled sack.
Yet crisp edges bring something extra. When fire hits flesh, amino acids dance with sugar – the Maillard tango – spawning flavors missing in soup-like simmered chunks.
A fast sear before long heat sets a foundation. Later, thyme, pepper, and onions lift what was built early.
The Best Vegetables for the Pot
Peeking out under the meat, onions do more than add flavor. Resting below, they lift the roast like a makeshift stand. Air sneaks through the spaces between.
As heat works, slices turn tender, giving off steam that shields the pan’s base.
Following close behind come:
- Onions
- Carrots
- Celery
- Garlic
Not mere extras. Each plays a role.
Breaking down slowly, they let go of pectin, umami hints, fragrant notes quietly drawn into rising damp air.
Choosing Herbs and Seasonings
Moist heat changes how herbs act. While dried thyme and rosemary stay strong, parsley fades fast.
The slow cooking of onions brings out sweet notes, which bay leaf quietly balances with a hint of sharpness. Instead of releasing all at once, whole peppercorns let flavor seep in over time.
Ground pepper might overwhelm, but the intact ones know when to pause.
Best Seasonings
| Add Early | Add Near the End |
| Thyme | Vinegar |
| Rosemary | Lemon Juice |
| Bay Leaf | Sour Cream |
| Whole Peppercorns | Cream |
Later on, stir in any dairy such as cream or sour cream.
Near the finish, add vinegar or lemon juice too. Putting acids in early can hinder how proteins soften, maybe firming up bits around the edges.
Cooking Time and Temperature
Most people underestimate how much timing matters when it comes to temperature. Recipes often suggest cooking for 6 to 8 hours on low heat. Yet results shift depending on the device used.
Crock pots made years ago tend to fluctuate in their heating patterns. Models built recently manage heat more steadily.
When checked with an internal probe, food sometimes hits pauses – times when the center stays cool even though heat keeps applying.
These stalls happen regularly.
When water evaporates, it pulls heat from inside the tissue until no more can escape. After that limit fades, warming begins again.
Temperature Guide
| Internal Temperature | Result |
| Under 180°F | Tough |
| Around 190°F | Tender |
| Over 200°F | Falling apart |
Heat alone won’t tell you it’s ready. Stop cooking once the center hits roughly 190°F.
By then, a fork glides through without fighting back.
Resting the Roast
That quiet time after cooking changes everything. Take the meat out. Leave it alone, wrapped light in foil, about a quarter of an hour.
Inside, things settle. Moisture moves back where it belongs.
Slice too soon? All that goodness runs out – ends up on the plate instead of staying put.
How to Slice and Serve
Break it up how you need.
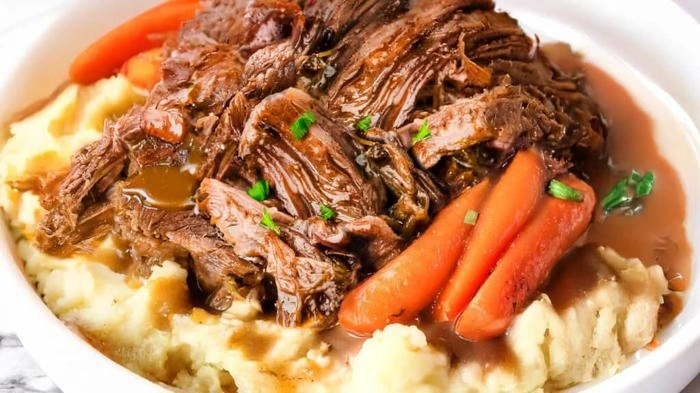
For Sandwiches
- Use forks to shred it
- Mix with cooking juices
- Serve warm
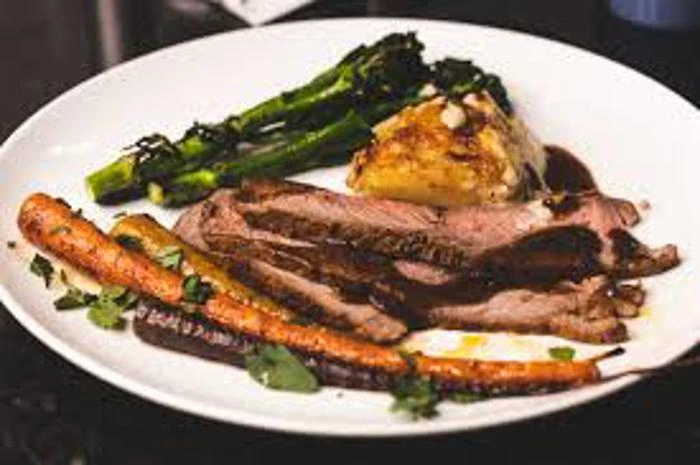
For Dinner Plates
- Slice about ¼ inch thick
- Cut against the grain
- Serve with vegetables or grains
Go even narrower when planning leftovers. Heat tightens cooked meat once more.
Also Read: Best Bone In Pork Chop Recipe: Why Timing Matters More Than Anything
Storing Leftovers
Surprisingly stable proteins keep leftovers freezer-friendly. When you warm them later, they release less moisture – long cooking did most of that work upfront.
For best results:
- Divide into portions
- Seal tightly
- Freeze in bags or containers
- Reheat gently with broth
Most leftovers lose quality when warmed too aggressively.
Side Dish Ideas
Out here, things don’t follow old rules.
Instead of mashed potatoes, try:
- Farro
- Lentils
- Roasted cabbage
- Root vegetables
- Crusty bread
These options hold flavor well and stay firm beside rich cooking juices.
Quick Tips for Better Results
- Dry brine for 60 minutes
- Use only ½–1 cup liquid
- Place onions under the roast
- Sear first if possible
- Cook low and slow
- Aim for 190°F internal temperature
- Rest 15 minutes before slicing
- Cut against the grain
Something happens when meat meets steady dampness. Not one thing stands out. Time shifts what’s happening inside, bit by bit.
Tools matter little compared to watching closely. Watch how moisture travels. Notice the way slices settle together. Flavors shift overhead, carried by vapor.
The outcome lives in those details.
Not much to look at. The outside never shines. Lines soften over time. Yet when you taste it, something hidden wakes – toughness melts into smoothness, basic turns deep with flavor grown step by step.