
Table of Contents
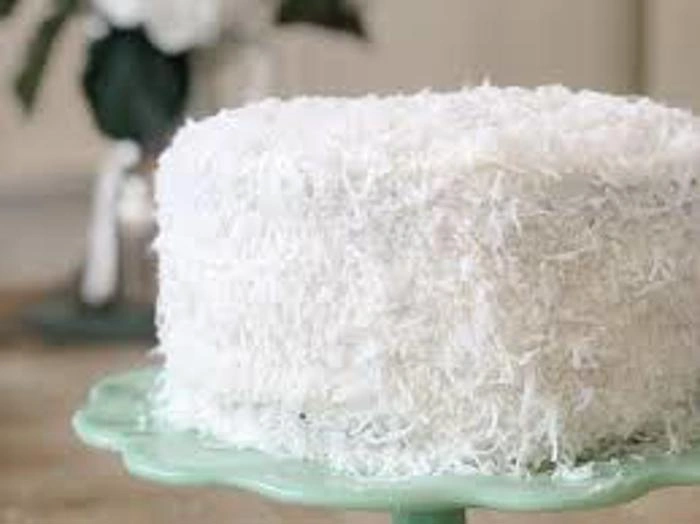
Coconut Cake Recipe With Cake Mix
Most folks feel a little off using pre-made mixes, like they’re skipping real work. Still, tossing in shredded coconut, a splash of extract, or tweaking how you frost can turn store-bought into something familiar – maybe even better than homemade attempts. What sticks isn’t flawless flavor, but hints of vacation heat, slight resistance at the edge, sugar softened by crumb structure. The box keeps those pieces steady.
White or yellow cake mix works best. Skip the angel food, leave out spice blends too. Coconut slips into either option without clashing. Pour one box – around 15.25 ounces – into your bowl. Start with what’s on the box – water, oil, eggs, mostly. Instead of all water, though, trade half for canned coconut milk. Go full fat if possible – it holds moisture longer.
People think regular milk does the same job. It misses the mark. The fats plus proteins in coconut respond uniquely when heated, shifting how the inside sets up. Right away, you taste coconut – not after baking, but from the first mix.
Why Coconut Milk Makes a Difference
Oddly enough, most people focus on the cake mix itself. Yet the liquid often changes more than the flour blend. Coconut milk brings fat, moisture, and flavor all at once. As heat moves through the batter, those fats help slow moisture loss while supporting a softer crumb.
The result is not simply a stronger coconut flavor. Texture shifts too. The inside stays tender longer and feels less dry even a day later. What matters here is not replacing ingredients for the sake of change. It is understanding how different liquids affect structure once baking begins.
Cake Mix and Coconut Milk
| Ingredient | Purpose |
| White Cake Mix | Light base for coconut flavor |
| Yellow Cake Mix | Richer flavor profile |
| Coconut Milk | Adds moisture and coconut taste |
| Eggs | Help build structure |
| Oil | Keeps the crumb soft |
How Shredded Coconut Changes Texture
Half a cup of sweetened shredded coconut goes into the mix. Before tossing it in, let it sit in warm coconut milk for ten minutes. That softens the fibers so they blend without lumps. Try unsweetened flakes instead, though – they pull in extra moisture. If that happens, tweak how thick the batter feels.
After mixing finishes, leave the machine running a bit longer – about two full minutes. This small delay adds air into the mix little by little. Even with heavier ingredients inside, that extra whip keeps things lifting steady. The outcome stays smooth, rises without gaps.
Most people think coconut simply adds flavor. Yet texture changes just as much. Softened coconut disappears into the crumb more naturally, while dry flakes can interrupt the smooth feel of each bite.
A few details help:
- Soak shredded coconut before adding it.
- Use warm coconut milk for better absorption.
- Mix slightly longer than normal.
- Adjust batter thickness if using unsweetened coconut.
Baking the Cake Properly
A tall pan with a center column works well – also try pairing two flat circles nine inches wide. Coat every surface with fat before sprinkling dry powder over it, or lay down paper that won’t stick when heated. Heat moves steady through the ring-shaped design.
Flat layers fit on top of one another neatly, while rounded forms appear at gatherings where looks matter. The shape changes more than appearance. It affects how heat travels from edge to center.
Pan Options
| Pan Type | Benefit |
| Bundt Pan | Even heat distribution |
| Tube Pan | Stable center baking |
| Two Round Pans | Easy layering |
| Lined Cake Pans | Easier cake release |
Set oven to 350 degrees Fahrenheit. How long depends on how high you are above sea level and how true your machine reads temperature. Start testing the cake earlier than the timer says – around ten minutes ahead.
Slide in a thin metal stick. If just a few crumbs cling to it, take the cake out right away. Dryness sets in quick once too much moisture escapes. Even off the heat, warmth trapped inside keeps changing the texture slowly.
Wait about fifteen minutes before lifting it from the mold. After that, shift it to a wire frame so air moves around evenly.
How to Make the Coconut Cream Topping
Besides the cake, there is the topping. Many go straight for ready-made spreads or mixes with powdered sugar. Yet here’s an idea – when refrigerated overnight, coconut cream from a can behaves much like dairy cream once whipped.
Take just the firm part on top. Work it with a mixer till soft mounds appear. Mix in two tablespoons of powdered sugar along with a quarter teaspoon of real vanilla. This kind isn’t imitation – it contains tiny amounts of alcohol that keep plant-based whipped creams from breaking down too fast.
Apply once the cake feels just warm to touch. That small warmth helps the topping sink gently into tiny gaps on top, blocking air from getting under it. Heat fades? So does the sealing effect.
Coconut Cream Frosting
| Ingredient | Purpose |
| Coconut Cream | Creates the base |
| Powdered Sugar | Adds sweetness |
| Vanilla Extract | Improves flavor and stability |
Why This Frosting Stays Fresh Longer
What makes this approach keep things fresh for so long? Air whipped into coconut cream forms a barrier that resists water. Because it repels humidity better, less liquid escapes when compared to traditional frosting.
Bakers along seaside areas like Puerto Rico and parts of Florida have used versions of this trick for years. Climate shaped their choices slowly. Moisture in the air speeds up how quickly powdered sugar falls apart. It is not speculation. Humidity changes the way frosting behaves over time.
Coconut Cream vs Traditional Frosting
| Feature | Coconut Cream | Traditional Frosting |
| Moisture Resistance | Higher | Lower |
| Humidity Performance | Better | Less Stable |
| Texture | Light | Dense |
| Freshness | Longer Lasting | Shorter Lasting |
Toasted Coconut Adds the Final Texture
A few well-placed touches work best. Crispy coconut brings texture yet darkens fast. Lay the pieces flat on a pan instead. Heat them at 325°F for just five minutes.
Stay near the oven – they turn from golden to charred before you can blink. Scatter across the cooled dessert right before serving.
Small toppings often matter more than large ones. Toasted coconut introduces contrast. The soft crumb, light frosting, and crisp flakes work together in a way extra sugar never could.
Storing Leftover Coconut Cake
Most people miss what comes next once the meal is done. Plastic wrap traps moisture when used on leftovers. That dampness builds up overnight. Try laying slices flat on a dish, face against the surface.
Another option works too – containers like old bread boxes let air move around. Minutes tick by, the chill inside fridges softens coconut scent fast.
When kept cool, leave the pieces on the counter for a quarter hour prior to serving. That small wait helps flavor return and allows texture to relax slightly.
Storage Tips
- Avoid sealing slices while still warm.
- Use containers with some airflow.
- Bring chilled cake closer to room temperature before serving.
- Add toasted coconut just before eating when possible.
More Than Just a Box Cake
Somehow, this version of coconut cake settles into its own space. Not reaching for ancient roots – there is no talk of island traditions, no stories from old farms. Instead, it skips that entirely.
A boxed mix began as a new idea back in the 1950s, shaped by labs more than kitchens. Alongside came arguments about palm oil, tricks to keep things fresh longer. See it clearly, minus any nostalgia.
The interesting part is not whether a mix is authentic. The interesting part is what happens after the box opens. The decisions made afterward shape the final result far more than many expect.
Small Choices Change the Final Result

Still, what counts comes down to clear choices. When you skip the box, details shift slowly into view – like how flour behaves, when bubbles spread just right, why structure holds or fails.
Pour in coconut by hand, after soaking it, then crisping it, tucking it gently through batter – that step changes everything quietly. A person working dough brings small differences that machines leave out on purpose.
Some changes appear immediately. Others only show up later, after cooling, slicing, and serving. The recipe may begin in a factory, but the final cake reflects the person making it.
Also Read: Simple Chicken Alfredo Recipe with Jar Sauce: Making Store-Bought Sauce Work Better
Common Mistakes to Avoid
| Mistake | Result |
| Using only water | Less coconut flavor |
| Skipping the coconut soak | Rougher texture |
| Overbaking | Dry crumb |
| Frosting a hot cake | Melting topping |
| Burning toasted coconut | Bitter flavor |
How Flavor Changes Over Time
Some days it feels milder, almost creamy. Then texture firms up later on, bringing out earthier tones instead. On the third pass, a quiet tang might show, particularly when left unsealed.
This isn’t decay – it’s natural activity inside the plant fibers. Those who notice shifts quickly may prefer eating it earlier.
Flavor Development Over Time
| Time | Flavor Profile |
| Freshly Baked | Creamy and sweet |
| Day 2 | Stronger coconut notes |
| Day 3 | Earthier tones appear |
| Unsealed Storage | Mild tang develops |
Start without naming what you’re doing. Skip titles like “simple” or “perfect.” Names won’t fill a plate. Bake it just as the flour sits in the cupboard, since hands once placed a piece on your paper plate under balloons and noise, since heat still rises right if the dial is set true.
Take the pan out when the center springs back. Allow warmth to drift down hallways. That shift – air carrying memory – is deeper than any written step.